



Stepping onto the track for a simple fitness assessment expecting an easy walk, only to end up with severe joint inflammation or a painful tendon tear, can completely derail your health journey. Assuming that a low-impact mile walk test carries zero physical risk and failing to properly prepare your body for a timed exertion protocol means you are exposing yourself to sudden structural injuries.
- An Unsuspecting Start: How a Basic Walking Test Turned Hazardous
- Four Severe Injuries Sustained During a Single Walking Assessment
- Biomechanical Flaws That Cause Walking Test Injuries
- Post-Injury First Aid and Progressive Rehabilitation Protocols
- Frequently Asked Questions About Walking Test Safety
- Safe Execution for Long-Term Cardiovascular Health
Evaluating your true cardiovascular endurance safely requires respecting proper biomechanics and pacing strategy. By examining one woman’s eye-opening injury story during a routine mile walk test and understanding how to protect your ankles, knees, and lower back, you can accurately benchmark your aerobic fitness without risking painful setbacks.
Stepping into a timed walking assessment without proper preparation can turn a basic cardio evaluation into an unexpected physical ordeal. Sourcing your movement strategy from proper stride mechanics protects your soft tissues from high-frequency impact stress, ensuring your physical progress remains safe, comfortable, and sustainable through every fitness checkpoint. Prioritizing structured warm-ups and correct footwear over aggressive speed is a proven, highly effective way to navigate the mile walk test safely.
An Unsuspecting Start: How a Basic Walking Test Turned Hazardous
The decision to take a submaximal fitness evaluation usually stems from a positive desire to track cardiovascular health and establish a baseline for aerobic capacity. For Sarah, a thirty-eight-year-old office manager, the choice to complete a mile walk test felt like the safest, most accessible way to measure her endurance. Believing that walking carried none of the mechanical impact risks associated with high-speed running sprints, she approached the track without anxiety, eager to log a competitive time.
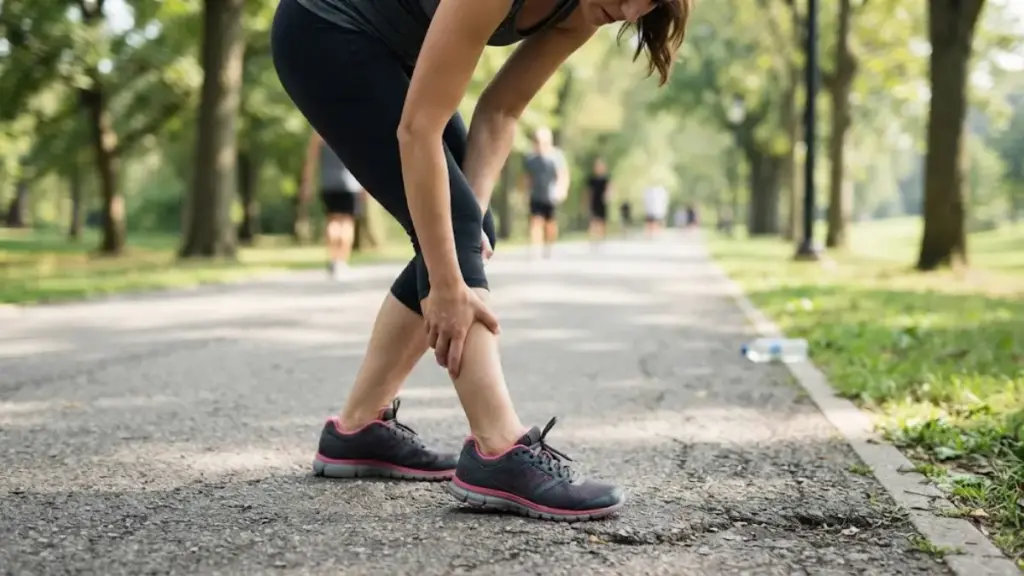
However, the psychological pressure to achieve a fast finish time quickly transformed a relaxed walk into an unnatural, aggressive stride pattern. Pushing her speed to the absolute limit without adequate physical preparation subjected her lower limbs to rapid, repetitive impact forces. Midway through her final lap, a sudden, sharp burning sensation radiated up her lower leg, causing her gait to collapse as her musculoskeletal system succumbed to acute mechanical overload during the mile walk test.
Read More: Exercise Brain Health: 3 Running Benefits That Lower Your Risk Of Decline

Four Severe Injuries Sustained During a Single Walking Assessment
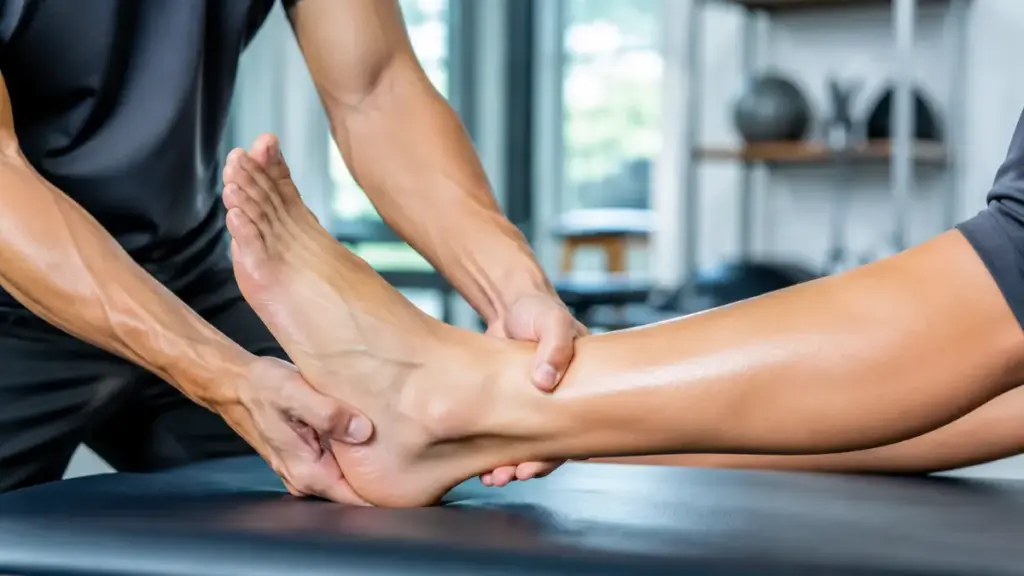
What began as a routine fitness benchmark resulted in a painful cascade of soft tissue and joint injuries that sidelined Sarah for months. Examining these four distinct physical breakdowns illustrates the surprising mechanical strain a mile walk test can impose when executed with flawed biomechanics.
- Acute Achilles Tendonitis: In her attempt to cover ground as fast as possible, Sarah repeatedly extended her forward leg far past her center of gravity, a flaw known as over-striding. Forcing a long stride requires the calf muscles to contract forcefully while the Achilles tendon is fully stretched, creating severe mechanical tension. This unnatural leverage produced micro-tears along her heel tendon, resulting in immediate sharp pain and localized swelling during her mile walk test.
- Shin Splints and Tibial Stress: Pounding her heels forcefully onto the hard synthetic track at a high step frequency transmitted repetitive shockwaves directly up her shinbones. Because her footwear lacked adequate impact-absorbing cushioning, the connective tissue membrane surrounding her tibia suffered acute periosteal inflammation. This mechanical pounding produced a throbbing bone ache along the front of her lower legs, a classic strain pattern induced by an unconditioned mile walk test.
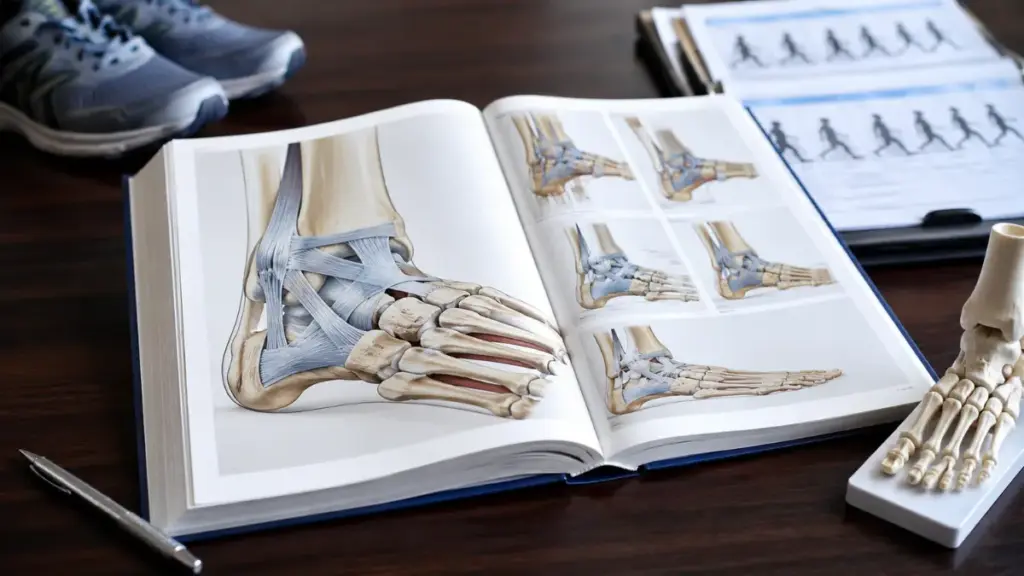
- Sudden Plantar Fasciitis Flare-Up: The sudden transfer of her full body weight onto a flattened, rigid foot arch during forced fast walking overstretched her plantar fascia. This thick band of tissue running along the bottom of the foot experienced micro-tearing near the heel attachment point. The resulting inflammation left Sarah with a stabbing pain under her heel that made taking her first steps every morning an agonizing task following her mile walk test.
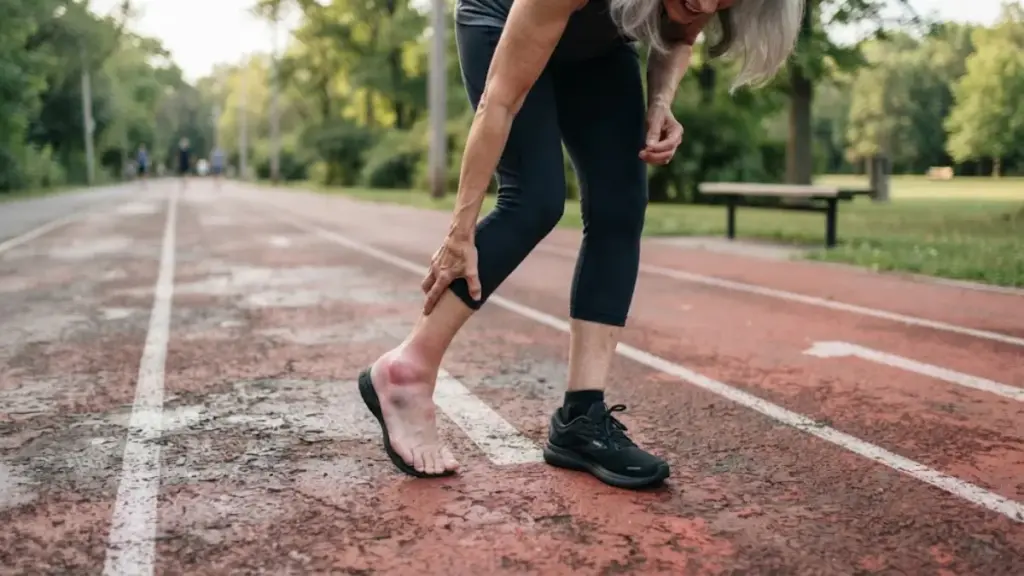
- Ankle Inversion Sprain: As fatigue accumulated during the latter half of the walk, the stabilizing muscles around Sarah’s ankle joints grew exhausted and failed to maintain proper alignment. On a tight curve along the track, her right foot landed awkwardly on its outer edge, causing her ankle to roll inward violently. This sudden inversion stretched and partially tore her lateral ankle ligaments, resulting in rapid bruising and significant soft tissue swelling that halted her mile walk test.

Biomechanical Flaws That Cause Walking Test Injuries
Analyzing the root causes of fitness assessment accidents reveals that injuries rarely occur by chance; they stem from specific technical mistakes. Identifying these primary biomechanical errors allows you to modify your technique and complete a mile walk test without risking tissue damage.
More Read

Skipping Specific Lower-Leg Warm-Up Protocols
Stepping onto the track with cold, stiff muscles prevents your connective tissues from absorbing impact forces efficiently. Cold tendon fibers lack the elastic pliability needed to handle rapid elongation, making them highly susceptible to micro-tearing under load. Skipping dynamic ankle mobility drills and calf warm-ups leaves your lower legs vulnerable to mechanical shock during a fast mile walk test.
A proper lower-leg warm-up should incorporate ankle circles, dynamic calf stretches, and heel-to-toe rolling walks to increase joint fluid circulation. Taking five to ten minutes to prepare your feet ensures your Achilles tendons and plantar fascia are resilient and ready for exertion. Prioritizing tendon preparation reduces soft tissue strain and optimizes your safety during a mile walk test.
Wearing Inappropriate or Rigid Footwear
Attempting a speed-walking assessment in worn-out running shoes, rigid lifestyle sneakers, or minimalist footwear with zero heel cushioning creates severe mechanical stress. Footwear lacking a structured heel counter allows the rearfoot to slide excessively, destabilizing the ankle joint on every foot strike. Choosing flexible, well-cushioned shoes with proper arch support is essential to absorb landing impacts during a mile walk test.
In addition, running shoes designed for forward momentum often have thick, elevated heels that force an unnaturally harsh heel strike during fast walking. Dedicated fitness walking footwear features a rounded heel transition and flexible forefoot grooves that facilitate smooth weight transfer from heel to toe. Selecting appropriate shoes distributes impact forces evenly, protecting your foot joints throughout a mile walk test.
Forcing Excessive Stride Length Over Step Cadence
The most common technical error during timed walking tests is reaching forward with a straight leg to take longer steps. Over-striding acts like a mechanical brake, driving impact forces straight up through the heel, knee, and lumbar spine while creating dangerous leverage on the Achilles tendon. Increasing your step frequency—taking shorter, faster steps with a bent knee landing directly beneath your hips—is far safer and more efficient during a mile walk test.
Maintaining a high step cadence allows your glutes and hamstrings to propel you forward smoothly without overstraining your calf muscles. Keeping your chest upright and engaging your core stabilizes your pelvis, preventing unnatural hip drops that stress the lower back. Mastering proper stride mechanics turns speed walking into a fluid, joint-friendly movement pattern for your mile walk test.

Post-Injury First Aid and Progressive Rehabilitation Protocols
If an unexpected tissue injury occurs during a walking assessment, executing immediate first aid and following a structured rehab plan is critical to restore mobility. Adopting these medical safety guidelines minimizes tissue inflammation and supports a safe return to a mile walk test.
Acute Phase Management to Control Inflammation
Immediately following a soft tissue injury, cease all weight-bearing activity and protect the damaged joint from further stress. Apply cold ice packs wrapped in a thin towel for fifteen to twenty minutes at a time to constrict local blood vessels and reduce swelling. Elevating the injured leg above heart level and applying gentle compression wrapping helps manage tissue fluid accumulation following a mile walk test accident.
During the first forty-eight hours, avoid applying direct heat or massaging the acutely inflamed area, as increased blood flow can worsen local internal bleeding and tissue swelling. Resting the limb gives micro-tears in the tendon or ligament time to form a stable fibrin clot. Taking immediate anti-inflammatory care speeds up initial recovery, laying a solid foundation for your return to a mile walk test.
Progressive Weight-Bearing and Mobility Restoration
Once acute swelling subsides, introduce gentle, non-weight-bearing mobility exercises to restore range of motion in the ankle and foot arch. Perform slow toe curls, ankle alphabet draws, and gentle calf stretches to prevent scar tissue from tightening your tendon fibers. Gradually reintroduce light weight-bearing walks on soft surfaces before attempting to retest your fitness with a mile walk test.
As tissue tolerance improves, incorporate eccentric calf raises to rebuild tensile strength in the Achilles tendon and strengthen the lower leg muscles. Strengthening the tibialis anterior muscle along the shin helps balance foot dorsiflexion, protecting against recurrent shin splints. Gradual physical rehabilitation rebuilds structural resilience, ensuring your body can handle the demands of a future mile walk test.
Frequently Asked Questions About Walking Test Safety
Who is at the highest risk of injury during a mile walk test?
Individuals with unconditioned lower legs, those recovering from previous ankle sprains, sedentary office workers, and individuals with extreme flat feet or high arches carry the highest injury risk. Sedentary individuals often lack the connective tissue pliability needed to absorb repetitive, high-frequency heel strikes without adequate preparation. Screening your joint mobility and starting with gradual walking sessions minimizes risk before attempting a mile walk test.
- Begin with two weeks of casual, un-timed walking to build lower-leg tissue tolerance.
- Consult a physical therapist if you have a history of chronic ankle instability or arch pain.
- Incorporate calf raises and arch-strengthening drills into your weekly routine.
- Gradual conditioning protects your joints and ensures a safe, successful mile walk test.
Reaching your long-term health goals is a journey built on daily, intentional choices; true physical resilience comes from prioritizing simple, whole-food nutrition, maintaining strict hygiene habits, and supporting your body’s natural healing capacity with a personalized plan to master the mile walk test.
Ri
How can I distinguish between normal muscle soreness and a ligament injury after a test?
Normal Delayed Onset Muscle Soreness (DOMS) presents as a dull, aching sensation spread evenly across calf muscles twenty-four to forty-eight hours post-test, improving with gentle movement. In contrast, a ligament or tendon injury produces sharp, localized pain, immediate visible swelling, bruising, or an inability to bear weight on the foot. Experiencing sharp, pinpoint pain indicates soft tissue damage that requires medical evaluation rather than simple rest following a mile walk test.
- Rest the limb immediately if you experience sharp, localized pain or visible joint swelling.
- Avoid pushing through sharp pain, as continuing to walk can worsen tendon micro-tears.
- Seek medical assessment if pain prevents normal walking for more than forty-eight hours.
- Distinguishing muscle fatigue from joint trauma ensures proper medical care after a mile walk test.
How long should I rehabilitate before attempting a mile walk test after an injury?
Rehabilitation timelines vary based on injury severity, but mild tendonitis or ligament sprains typically require four to eight weeks of structured recovery before retesting. Ensure you are completely pain-free during daily walking, display full joint range of motion, and can perform single-leg calf raises comfortably before attempting a timed assessment. Rushing back into a timed walk too early risks re-injuring weakened tissue during a mile walk test.
- Complete a full rehab program focusing on eccentric calf strength and ankle stability.
- Test your foot tolerance with short, slow five-minute walks on flat grass before retesting.
- Prioritize proper stride technique over speed when you feel ready to retest your fitness.
- Allowing full tissue healing guarantees long-term joint health and a safe mile walk test.
Read More: Squad Training: 5 Shocking Reasons Solo Workouts Are Silently Injuring You
Safe Execution for Long-Term Cardiovascular Health
Assessing your aerobic endurance using a submaximal walking protocol remains a valuable, accessible way to track fitness progress when performed with proper form. Protecting your soft tissues requires discarding the urge to over-stride and focusing instead on smooth, high-cadence steps over cushioned footwear. By respecting your body’s mechanical limits and preparing your lower legs properly, you transform a potentially risky evaluation into a safe, reliable baseline tool.
Taking the time to refine your walking mechanics, warm up cold muscles, and listen to early fatigue signals guarantees a lifetime of safe exercise. Every properly executed fitness assessment provides valuable health data without compromising your joint integrity or setting back your training schedule. Benchmark your fitness with confidence, prioritize proper technique, and enjoy the lasting health benefits of a safe mile walk test.
PLEASE LEAVE A COMMENT TO SHARE YOUR FAVORITE RECOVERY HABITS OR FOLLOW OUR BLOG FOR THE LATEST HEALTH ADVICE.